
A2W
Dual-camera gimbal for drone integration
A2W combines two visible-light cameras with a three-axis gimbal, Ethernet video output and serial or network control.
Package includes
- 1 × A2W gimbal
- 1 × Wiring kit
- 1 × Product packaging box
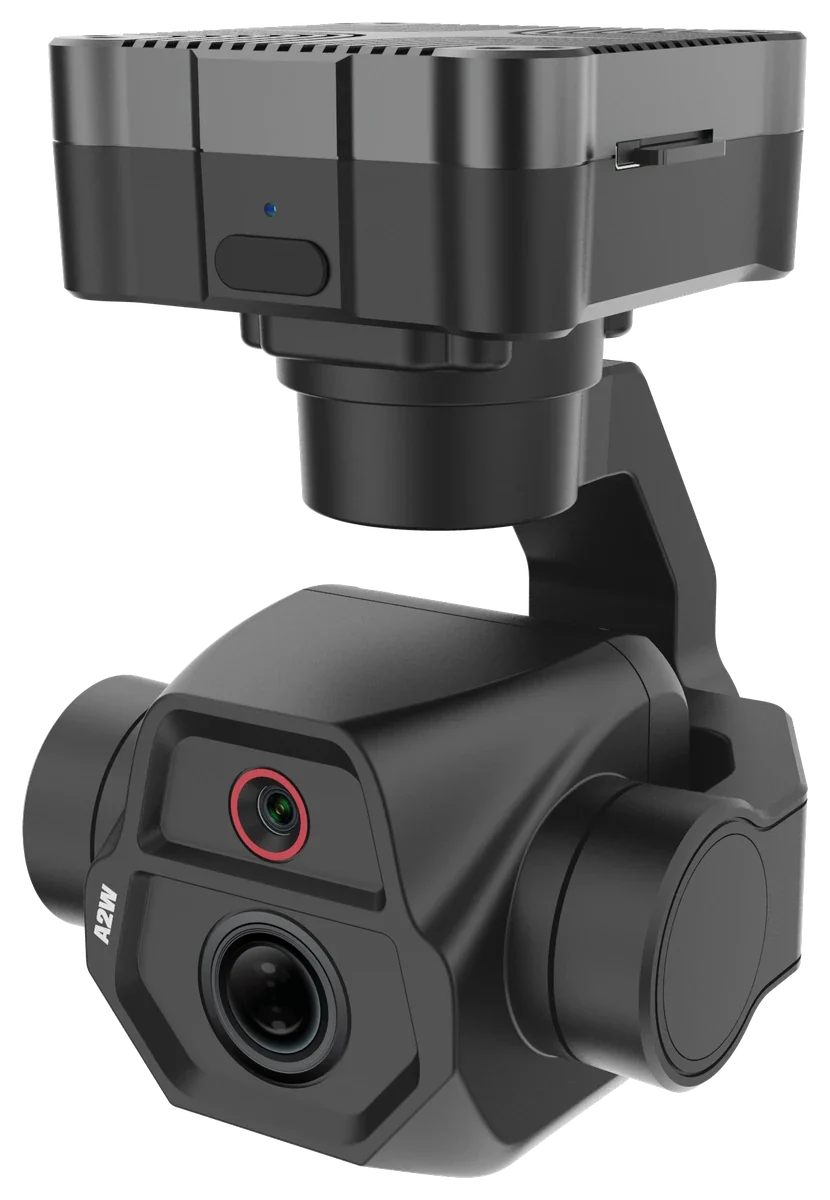
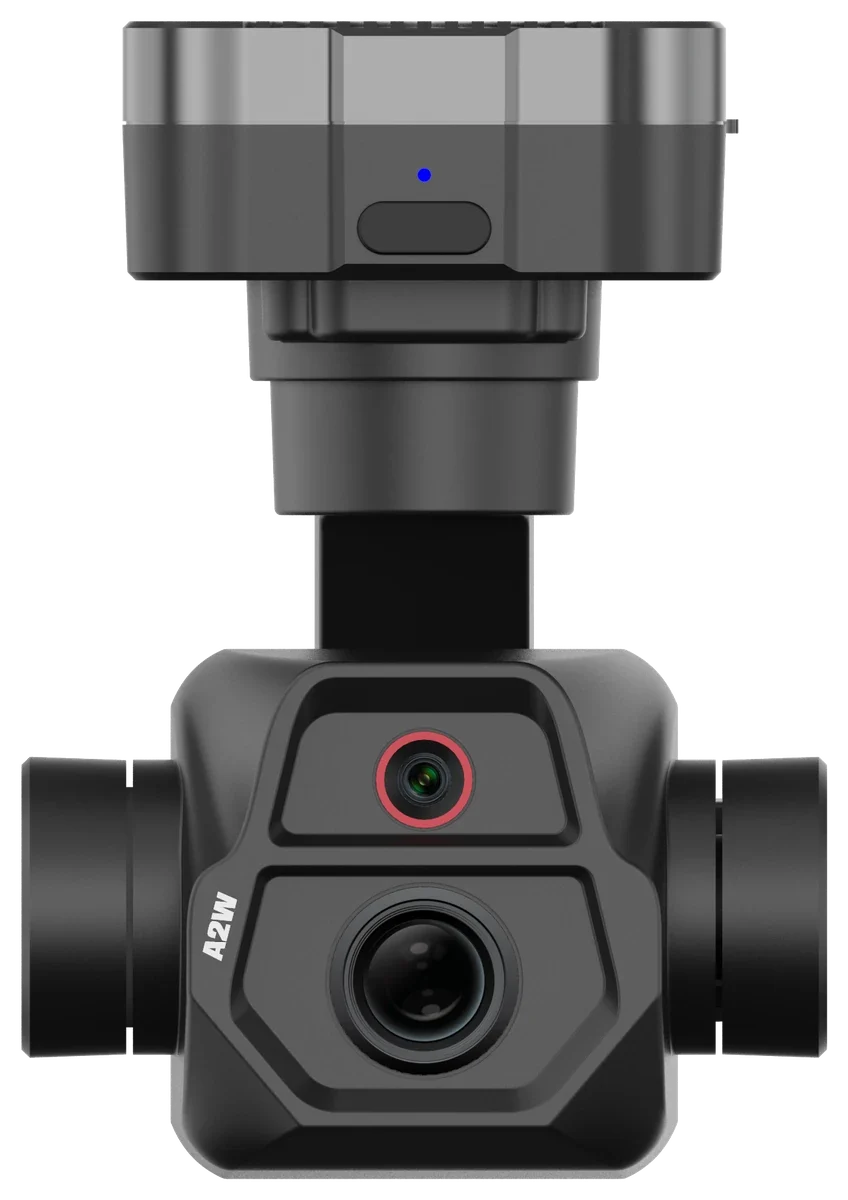
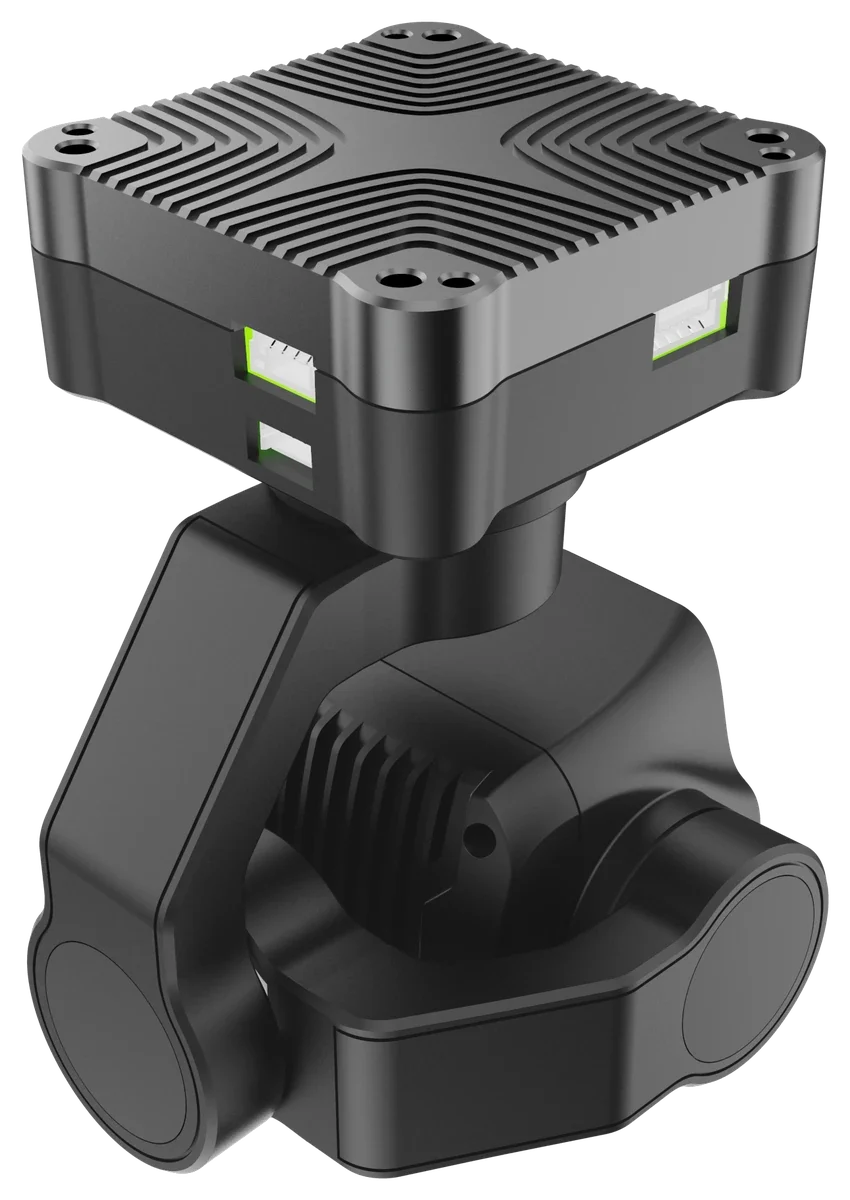
A2W product render
Product essentials
For international drone manufacturers and system integrators.
Dual visible-light cameras
A2W combines two 5MP visible-light cameras, a 6 mm wide-angle lens and a 25 mm telephoto lens, with 24x hybrid zoom in a three-axis gimbal.
- Three-axis stabilization
- Gimbal movement across yaw, pitch and roll.
- AI target detection and tracking
- Detection and tracking of vehicles, people and other ground targets.
- Ethernet video output
- Ethernet / RTSP video for your receiving system.
- Flight-control integration
- Supports PX4 and ArduPilot workflows, with TTL serial, TCP and UDP control interfaces.
- Compact dimensions and weight
- 60.3 × 60 × 96.3 mm, with a documented weight of 126 ±10 g.
Wide coverage. Closer detail.
Two 5MP visible-light cameras pair a 6 mm wide-angle lens with a 25 mm telephoto lens, combining scene coverage with a closer view of distant details.
A2W offers 24× hybrid zoom.
- Visible-light cameras
- 2 × 5MP
- Lens focal lengths
- 6 / 25 mm
- Hybrid zoom
- 24×
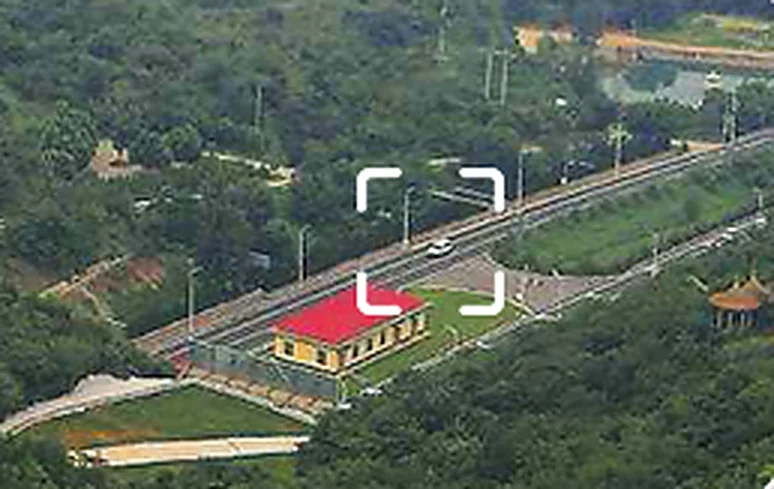
Scene overview
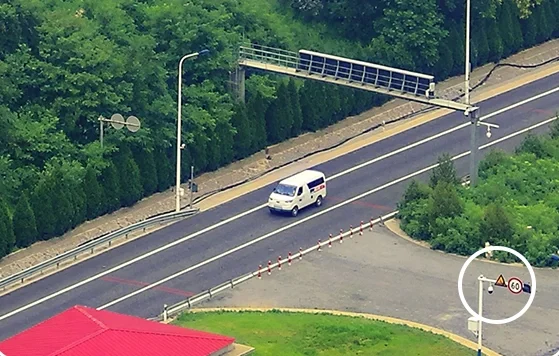
Closer detail
Recognize targets. Keep them in view.
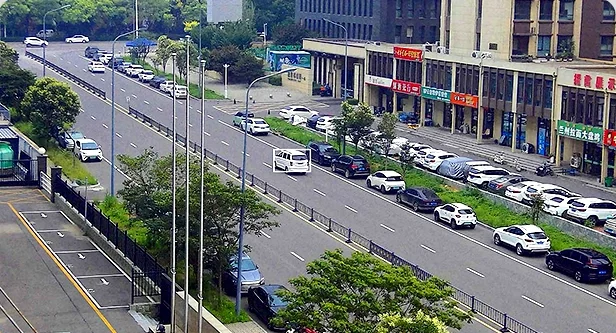
A built-in AI processor detects and tracks vehicles, people and other ground targets. Select a target and the gimbal keeps it at the center of the frame.
Detection models are trained on downward-looking aerial views. Detection rates from other viewing angles are not guaranteed. Manual gimbal control is paused while tracking is active.
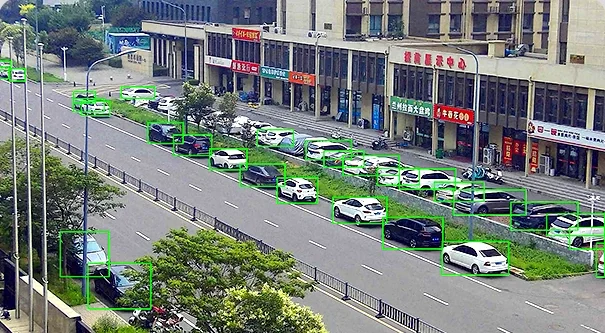
Target detection
Target tracking
Stabilized imaging across three axes.
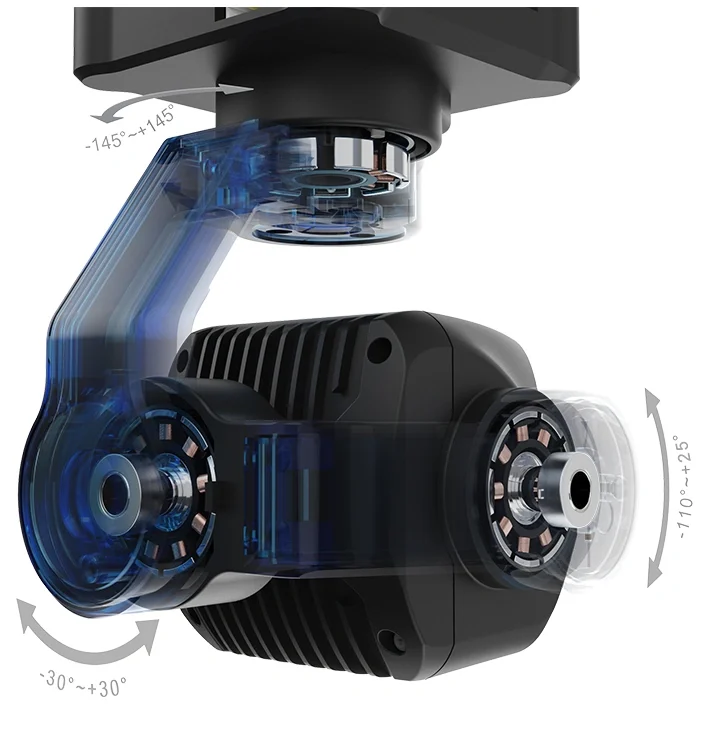
A three-axis gimbal compensates for small movements of the mounting platform to hold the camera angle steady.
- Yaw
- −145° to +145°
- Pitch
- −110° to +25°
- Roll
- −30° to +30°
Angle working range. Source: A2W User Manual V1.5, dated 13 October 2026, page 8.
See the target. Know its location.
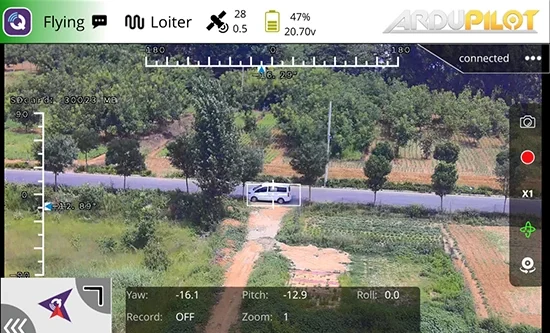
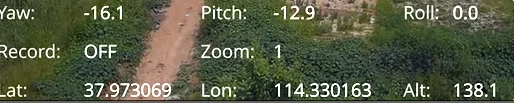
A2W calculates the position of the point at the center of the image using flight-controller position, attitude and altitude data. Target latitude and longitude are shown in the on-screen display, with target-height data available in telemetry.
- Required input
- Flight-controller position, attitude and altitude data.
- Rangefinder
- No rangefinder is required for this positioning function.
Use with the gimbal pitched below −30°. Contact our technical team to confirm the required data protocol and flight-controller setup.
Target view
Coordinate readout from the original illustration
Built for your flight-control workflow.
A2W supports PX4 and ArduPilot workflows, with serial and network control (TTL serial, TCP and UDP) and Ethernet video output.
Setup depends on your controller, firmware and wiring. Contact our technical team to confirm controller, firmware, wiring and function requirements.
Product views
A2W videos
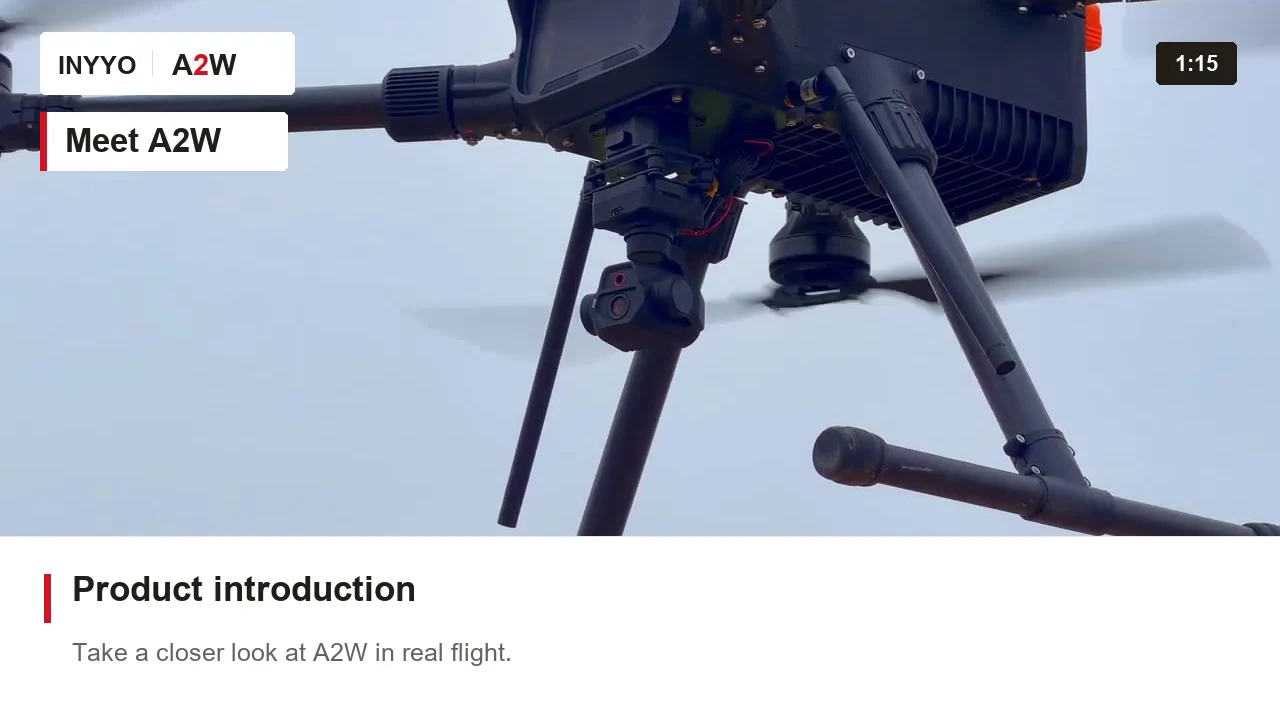
Meet A2W. Product introduction. Take a closer look at A2W in real flight. Duration 1:15. 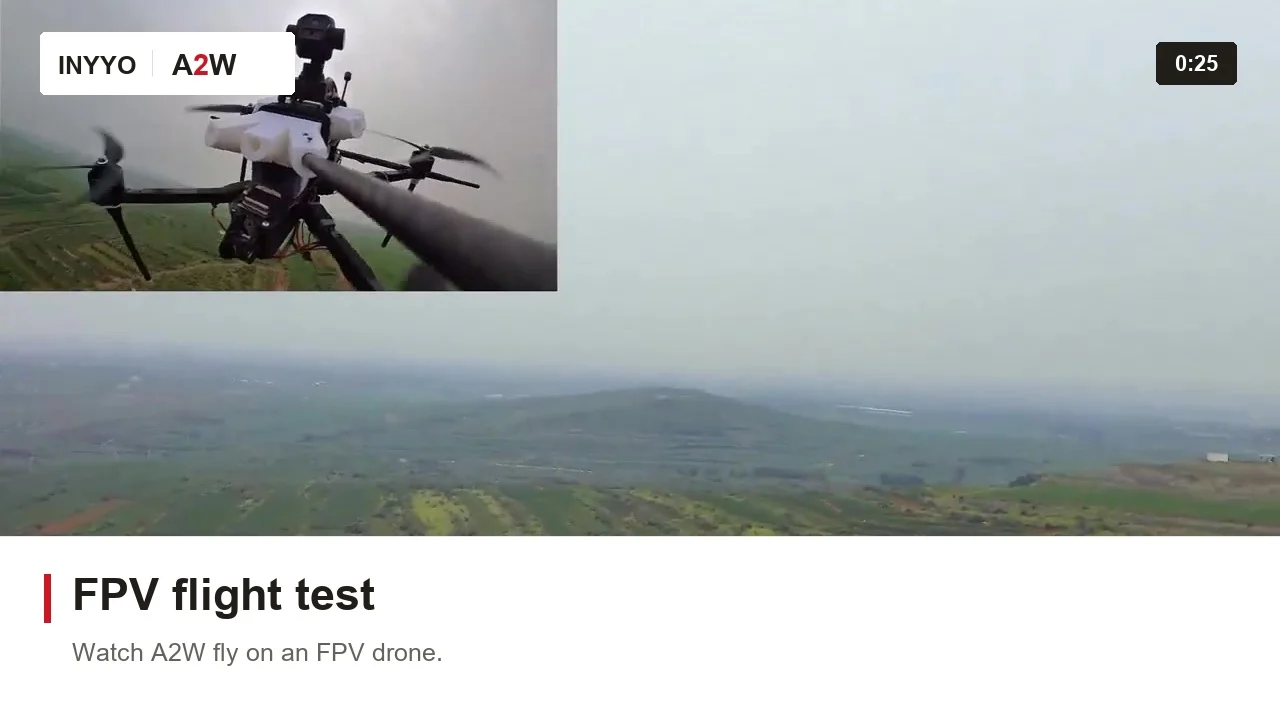
FPV flight test. Watch A2W fly on an FPV drone. Duration 0:25. 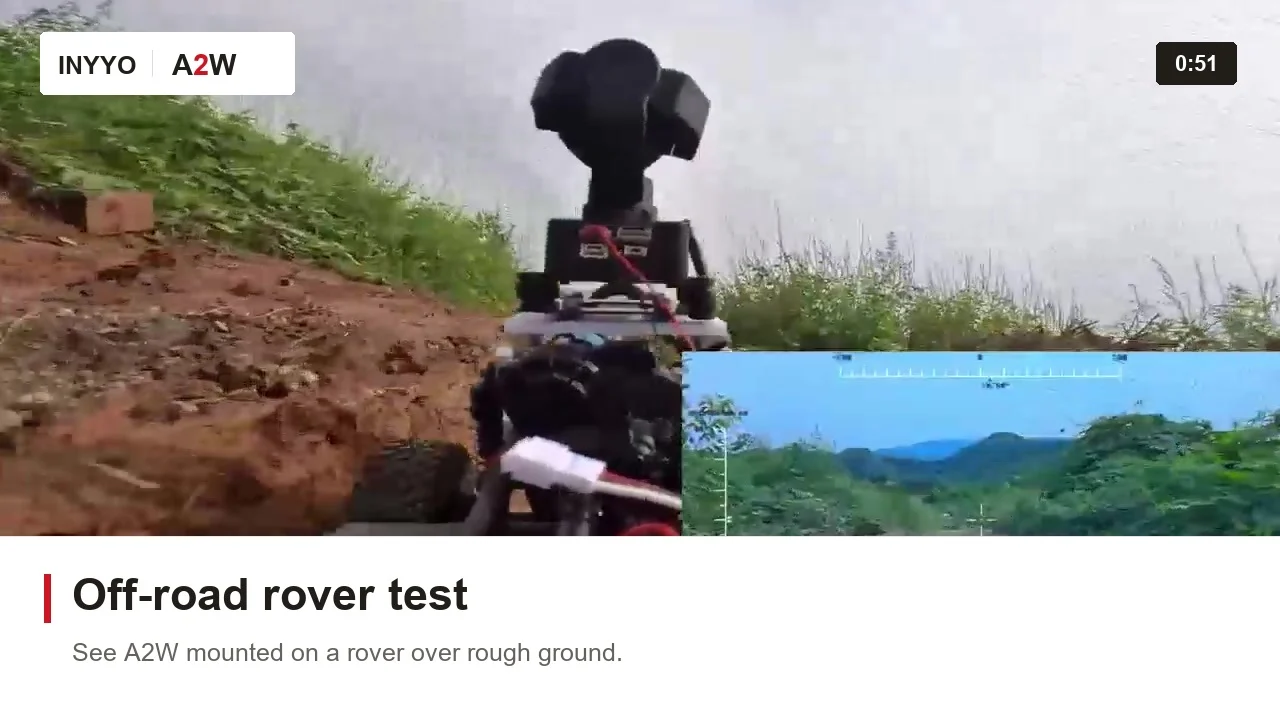
Off-road rover test. See A2W mounted on a rover over rough ground. Duration 0:51. 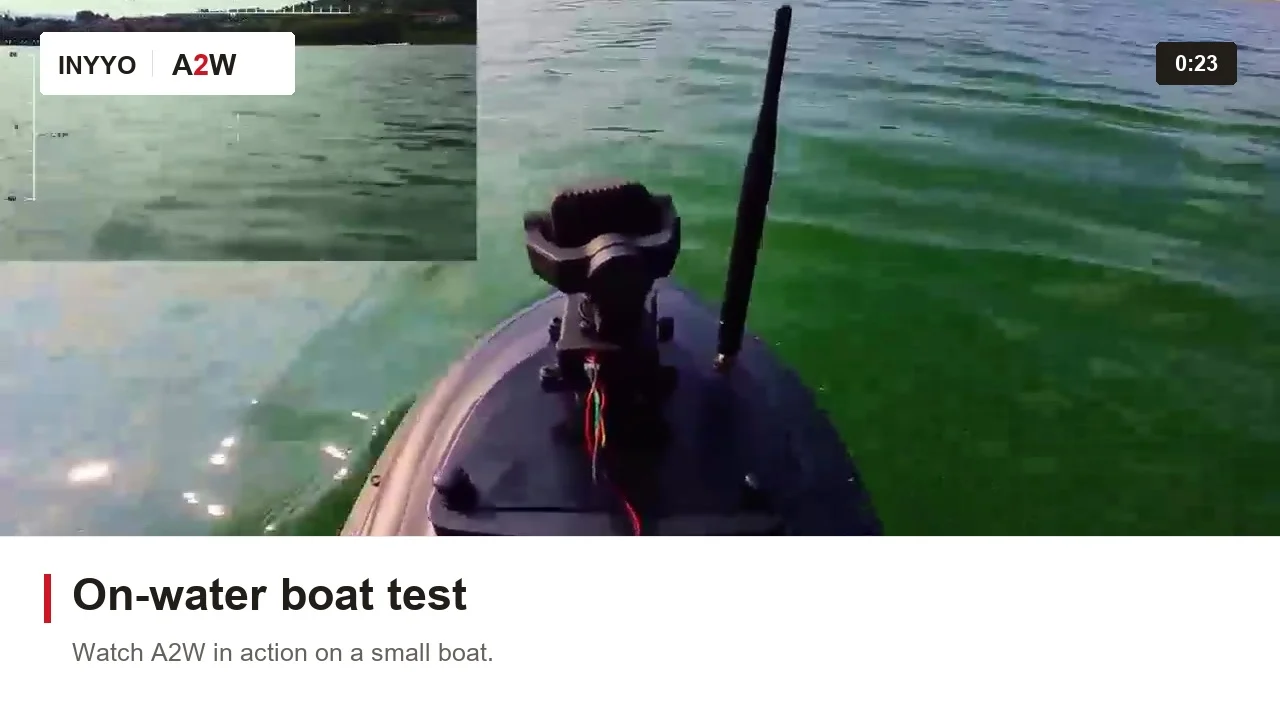
On-water boat test. Watch A2W in action on a small boat. Duration 0:23.
A2W specifications
| Parameter | Specification |
|---|---|
| Dimensions | 60.3(L) × 60(W) × 96.3(H) mm |
| Weight | 126 ±10 g |
| Gimbal axes | Yaw, pitch and roll |
| Mounting orientations | Bottom-mounted (default), top-mounted and front-mounted |
| Input voltage | 12 V |
| Video output | 1920 × 1080 at 30 fps or 1280 × 720 at 30 fps |
| Video interface | Ethernet / RTSP |
| Control interfaces | TTL serial, TCP and UDP |
| Operating temperature | −10°C to +55°C |
Source: A2W User Manual V1.5, dated 13 October 2026, page 8.
English user manual with installation, configuration, control and technical instructions.
Plan your integration
Share the installation and interface details for your drone platform.
Mounting configuration
A2W supports bottom-mounted (default), top-mounted and front-mounted orientations. Select the mounting mode in the Windows control software. After configuration, disconnect power from the gimbal and reconnect it for the setting to take effect.
For front mounting, remove the carbon-fiber plate and damping balls, then secure the gimbal directly to the mounting platform with screws as described in the user manual.
Follow the mounting instructions for the selected orientation. Allow sufficient clearance for gimbal movement and cable routing.
- Power supply
- A2W specifies a 12 V input. Share your supply voltage, available current, connector and wiring requirements.
- Video system
- Video uses Ethernet / RTSP. Tell us about your onboard network, receiving device, video software and preferred output resolution.
- Control interface
- Control uses TTL serial, TCP or UDP. Include your flight controller and software versions, intended interface and required gimbal functions.
Frequently asked questions
What is the minimum order quantity?
The minimum order quantity is 1 set.
Where can you ship?
We currently support shipping to Australia, the United Arab Emirates, Singapore, Malaysia, the United Kingdom, and Germany. For other destinations, please contact us to confirm shipping availability.
How long does it take to dispatch an order?
For orders of up to 20 units, dispatch typically takes 7 business days from order confirmation. This is the preparation time before shipment, not the transit time to your destination. For larger orders, please contact us to confirm the dispatch schedule.
What does the US$199 price include?
The price includes 1 A2W gimbal, 1 wiring kit, and 1 product packaging box. Shipping and taxes are not included.
Can A2W connect to my flight controller?
A2W provides serial and network control interfaces. Compatibility needs to be checked for your controller, firmware, wiring and required functions.
What mounting orientations does A2W support?
A2W supports bottom-mounted (default), top-mounted and front-mounted orientations. Select the mounting mode in the Windows control software. After configuration, disconnect power from the gimbal and reconnect it for the setting to take effect. Mount the gimbal according to the instructions for the selected orientation in the user manual.
What should I include in an inquiry?
Include your drone platform, mounting position, power supply, video system, control interface and project requirements. Add your expected quantity and timeline if known.
Discuss your A2W project
Tell us about your drone platform and integration requirements. Include your expected quantity and project timeline if known.
Hebei Xiangtuo Aviation Technology Co., Ltd.
501, Building 8, Guanggu Jincheng Science and Technology Park, Luquan District, Shijiazhuang City, Hebei Province, China
zingtoxt@gmail.comFields marked * are required. Other details can be added if known.